Online Documentation for SQL Manager for SQL server
Schedules
Shared schedules are multipurpose items that contain ready-to-use schedule information. You can create a shared schedule once, and then reference it in a subscription or property page when you need to specify schedule information.
Before using SQL Server schedules, make sure that the SQL Server Agent service is running.
To create a new schedule:
- right-click the Schedules node (within the Server Objects branch) or any object within this node in the DB Explorer tree and select the New Schedule item from the context menu;
- define schedule properties using the appropriate tabs of Schedule Editor.
or
- select the Database | New Object... main menu item;
- select Schedule in the Create New Object dialog;
- define schedule properties using Schedule Editor.
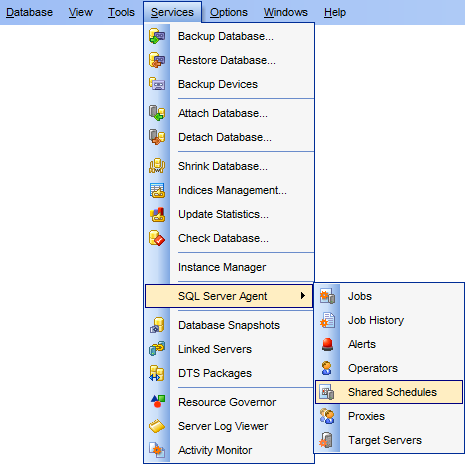
Hint: To create a new schedule, you can also select the Services | SQL Server Agent | Shared Schedules main menu item to open the Schedules manager and select the Add Schedule item from the context menu or on the Navigation bar.
To create a new schedule with the same properties as one of existing schedules has:
- select the Database | Duplicate Object... menu item;
- follow the instructions of Duplicate Object Wizard.
Alternatively, you can right-click a schedule in the DB Explorer tree and select the Duplicate Schedule <schedule_name>... context menu item.
Duplicate Object Wizard allows you to select the server to create a new schedule and to edit the result SQL statement for creating the schedule.
To edit an existing schedule:
- select the schedule for editing in the DB Explorer tree (type the first letters of the schedule name for quick search);
- right-click the object and select the Edit Schedule <schedule_name> context menu item, or simply double-click the schedule;
- edit schedule properties using the appropriate tabs of Schedule Editor.
To change the name of a schedule:
- select the schedule to rename in the DB Explorer tree;
- right-click the schedule alias and select the Rename Schedule <schedule_name>... item from the context menu;
- edit the schedule name using the Rename Object... dialog.
To drop a schedule:
- select the schedule to drop in the DB Explorer tree;
- right-click the object and select the Drop Schedule <schedule_name>... context menu item;
- confirm dropping in the dialog window.
Note: If more convenient, you can also use the following shortcuts:
Ctrl+N to create a new schedule;
Ctrl+O to edit the selected schedule;
Ctrl+R to rename the schedule;
Shift+Del to drop the object.
To create, edit and drop schedules, you can also use the context menu and the Navigation bar of Shared schedules manager.
|
See also: |


