
Online Documentation for Data Comparer for Oracle
Step 1 - Setting connection properties
At this step you should specify necessary settings to establish connection to Oracle databases.
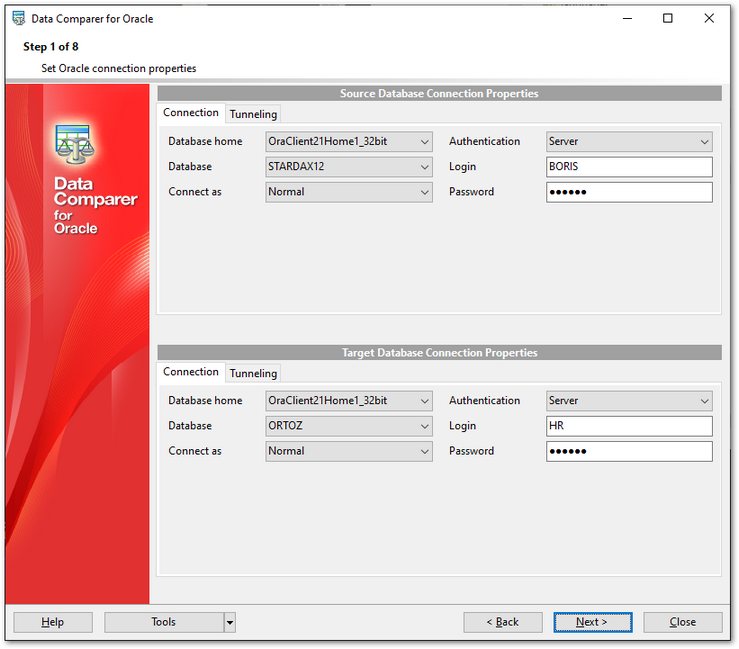
Connection settings
Database home
Specify your Oracle Home storage for this connection.
Note: If no database is registered in Oracle Client (DB list is empty in this case) you need to add registration info manually.
Connect as
Select the type of connection to be established: Normal (by default), SYSDBA, SYSOPER.
Authentication
Specify the type of authentication to be used for the connection: Windows or Server authentication.
If Server has been selected as the authentication type, you should also provide authorization settings: Login and Password.
The default superuser name is 'SYS' (for Oracle 9.0 and higher) and the default password is 'change_on_install'.
After that it is necessary to select the database for data comparison: use the Database drop-down list to select the database you need (the drop-down list contains databases currently specified in the TNS file).
Please note that you need to have sufficient privileges to be able to write to the destination database on Oracle server.
Tunneling settings
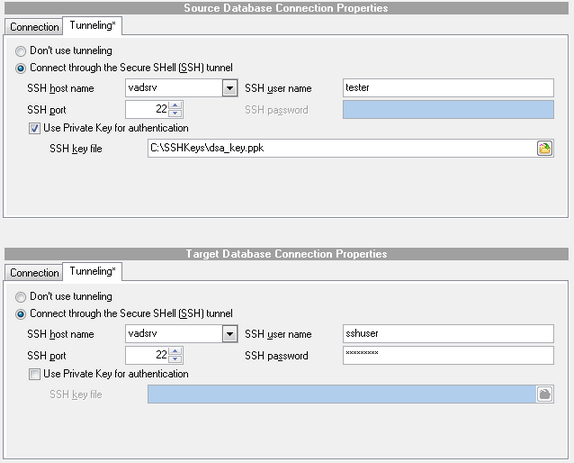
SSH host name
Set the name of the host where SSH server is running.
SSH port
Indicate the port where SSH server is activated.
SSH login
Specify the user on the machine where SSH server is running (Note: it is a Linux/Windows user, not a user of Oracle server).
SSH password
Input the Linux/Windows user password.
![]() Use Private Key for authentication
Use Private Key for authentication
If the SSH encryption is enabled on the SSH server, a user can generate a pair of cryptographic keys (the Private key and the Public key). The Public key is placed on the SSH server, and the Private key is the part you keep secret inside a secure box that can only be opened with the correct passphrase (or an empty string as the passphrase). When you wish to access the remote system, you open the secure box with your passphrase (if any), and use the private key to authenticate yourself with the Public key on the remote Linux computer.
SSH Key file
Specify the location (the secure box) of the Private key file on your local machine.
Note that you need to trust your local machine not to scrape your passphrase or a copy of your Private key file while it is out of its secure box. For more details see SSH tunneling options.
Repeat the steps above for the target Oracle connection or just check the Both databases are located on the same server option for comparing data from databases located on the same server.
When you are done, press the Next button to proceed to the selecting schemas for refreshing or directly to Step 2 (if the Select schemas... dialog is disabled in the program preferences).


