Online Documentation for Data Import for SQL Server
MS Excel 97-2003
Table
Select the sheet for importing data from.
Select the needed source file from the list. Then specify ranges in the grid for the target and source fields:
- select a field of the target SQL Server table in the Fields list;
- proceed to the sheet grid: click a column caption to select the whole column or click the row number to select the whole row;
- the selected column/row of the source file gets green highlight, and a new range indicating the source and target fields correspondence appears in the Range list;
- repeat the operation for all the fields you need to be included in the import process.
If the source file and the destination SQL Server table have the same order of columns, you can use the ![]() Auto Fill Columns mode (default) to set correspondence between them automatically. If source file and destination SQL Server table have different order of columns but identical names you can use the
Auto Fill Columns mode (default) to set correspondence between them automatically. If source file and destination SQL Server table have different order of columns but identical names you can use the ![]() Auto Fill by Captions mode to set the correspondence based on name's identity. You can also use the
Auto Fill by Captions mode to set the correspondence based on name's identity. You can also use the ![]() Auto fill Rows to set the correspondence between destination table fields and source file rows.
Auto fill Rows to set the correspondence between destination table fields and source file rows.
If new table creation was selected at the previous step, then fields needed for the import procedure will be created automatically.
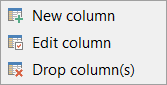
You can manage destination table fields if needed. Use the corresponded context menu item to New/Edit/Drop field.
Note: If table was properly created or already exists, it will be marked with a tick ![]() . If an error occurs during table creation, this table will be marked with a cross
. If an error occurs during table creation, this table will be marked with a cross ![]() .
.
If necessary, you can choose to skip a defined number of the source file columns and/or rows using the Skip Col(s) and Skip Row(s) spin-edits.
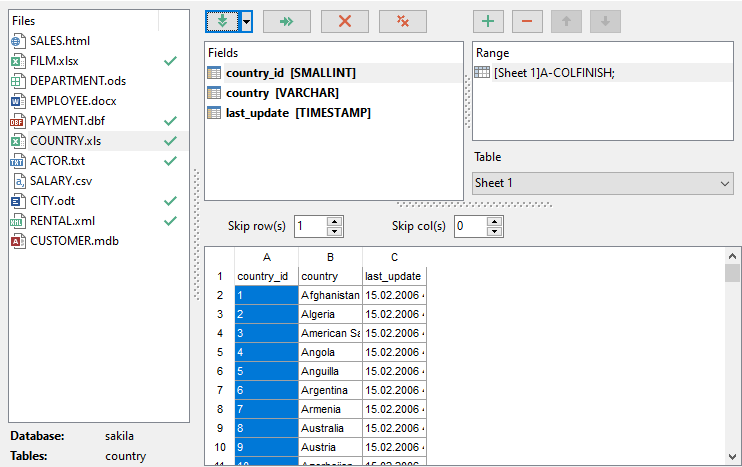
If your spreadsheet file contains several sheets, you are able to set different mapping for each sheet.
To clear ranges for a field, select the field in the Fields list and press the ![]() Clear button.
Clear button.
To clear all ranges specified for the target table fields, press the ![]() Clear All button.
Clear All button.
To set a range of data to be imported from the file, use the ![]() Add range button.
Add range button.
To remove a range, use the ![]() Delete range button.
Delete range button.
Using the ![]() Move Up and the
Move Up and the ![]() Move Down buttons you can change the order of ranges applied to data.
Move Down buttons you can change the order of ranges applied to data.
Click the Next button to proceed to the Setting base data formats step of the wizard.


