Online Documentation for Data Import for SQL Server
Step 1 - Setting connection properties
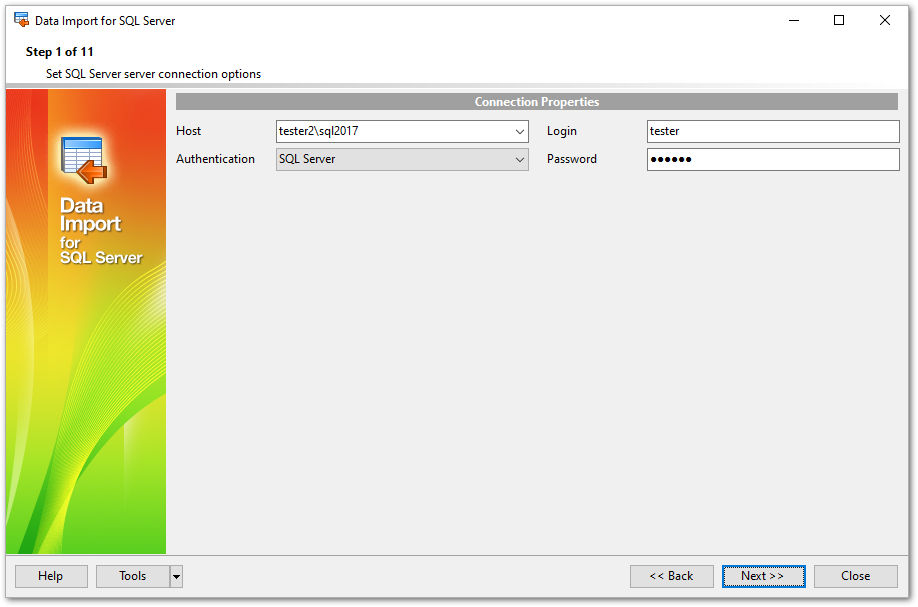
At this step you should specify necessary settings to establish connection to the target SQL Server database.
Connection settings
For connection you should enter SQL Server host name in the Host field or select the needed host from the drop-down list. This list is formed using SQL-DMO components function - "ListAvailableSQLServers". If SQL-DMO components are not installed the "NetServerEnum" function from netapi32.dll is used. If neither SQL-DMO components, nor netapi32.dll are installed, the Host drop-down list will be empty when the program is launched for the first time, and filled with host names already registered in the program, during further launches.
Please note that if Microsoft® SQL Server™ is installed as a named instance, you should specify 'Remote' as the connection type and enter the name, or IP address of your machine and the instance name in the 'Host' field in the following format: computer_name\sqlserver_instance_name or ip_address\sqlserver_instance_name (e.g. "MYCOMPUTER\SQLEXPRESS", "127.0.0.1\SQLEXPRESS" ).
Authentication Type
Specify the type of SQL Server authentication to be used for the connection: SQL Server or Windows authentication. It is strongly recommended to avoid using SQL Server authentication with "sa" as the login.
If SQL Server has been selected as the authentication type, you should also provide authorization settings: Login and Password.
For your convenience the Connection timeout option is implemented: set this option to optimize the performance of the utility upon connection to your instance of SQL Server. Use the Command timeout option to set time available for command execution.
If you are using the EMS SQL Management Studio for SQL Server version of Data Import for SQL Server then the Select registered database button is available. Click this button to pick a database already registered in the EMS SQL Management Studio in the Select Host or Database dialog.
Please note that you need to have sufficient privileges to be able to write to the destination database on SQL Server.
If you get any difficulties connecting to the database, it can be useful to look through FAQs.
NOTE: The Tools button gets access to saving/loading import templates or adjusting program Preferences.
When you are done, press the Next button to proceed to the next step.


