
Online Documentation for Data Import for InterBase/Firebird
XML Document
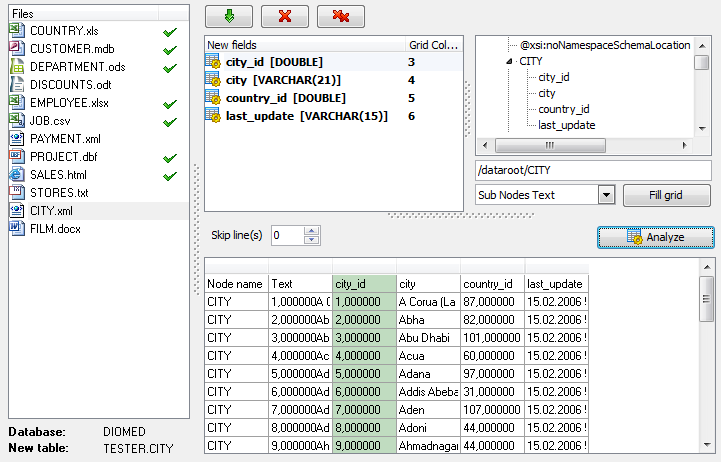
In order to set mapping of a Generic XML document, you should first select the desired XML Document in the Files list. The tree-like structure of source document is displayed in the area located to the right from the New fields list. Select a node in the tree to get its relative path or type the path manually in the editor below (the path must be specified in the XPath format). Upon pressing the Fill grid button the grid gets filled with Sub Nodes Text or Attributes values of the selected node.
Note: if the source XML document contains huge amount of data, building the tree may take a long time.
Set correspondence between the source XML file columns and the target Interbase/Firebird table fields:
- select a field of the target Interbase/Firebird table in the Fields list;
- proceed to the source grid viewer area: click a column to assign the column to the selected target table field;
- the selected column of the source file gets gray highlight;
- repeat the operation for all the fields you need to be included in the import process.
You can use the ![]() Auto Fill Columns button to set correspondence between the source and target fields automatically according to their order (mapping is started from the first attribute value in this case).
Auto Fill Columns button to set correspondence between the source and target fields automatically according to their order (mapping is started from the first attribute value in this case).
When you import data to a newly created table, the Analyze button appears. Use this button for automatic field creation.
The number of the column which correspondence is set for are displayed at the Grid Column column. You can use it for setting the fields correspondence as well.
If necessary, you can choose to skip a defined number of the source file lines using the Skip Lines spin-edit.
To remove all correspondences, press the ![]() Clear All button.
Clear All button.
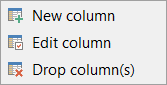
If you choose to import data to the newly created table, at this step you need to create necessary fields. Use the corresponded context menu item to manage fields.
Note: If table was properly created or already exists, it will be marked with a tick ![]() . If an error occurs during table creation, this table will be marked with a cross
. If an error occurs during table creation, this table will be marked with a cross ![]() .
.
Click the Next button to proceed to the Setting base data formats step of the wizard.


