
Online Documentation for Data Comparer for InterBase/Firebird
Step 1 - Setting connection properties
At this step you should specify necessary settings to establish connection to Interbase/Firebird databases.
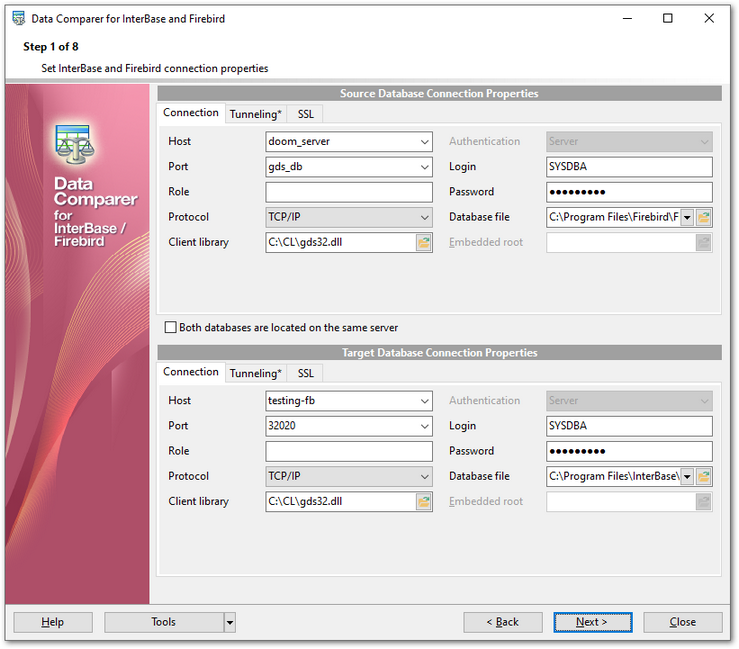
Connection settings
Host
Specify the name or IP of the server to connect.
Port
Specify the port value.
Authentication
Select the preferable type of server authentication to be used for the connection:
- Server (traditional IB/FB authentication with security database)
- Windows (only FB 2.1 or above)
- Mixed
Login
Input the name of the server user.
Role
Specify user role if any.
Password.
Input the password for the specified user.
Protocol
Use the drop-down list to select the communication protocol to be used for the connection: TCP/IP, NetBEUI, Novell SPX, Local, Embedded.
Database file
Specify the path to the database file (*.gdb, *.ib for InterBase or *.fdb for Firebird).
Client library
Specify the path to the client library. For successful connection to the server it is crucial to use the appropriate client library - the one that is compatible with the server you are using: gds32.dll for Interbase and fbclient.dll for Firebird. Please note that the client library file must be located on your local machine (e.g. in the directory where the utility is installed). Bear in mind that the path to the database file should be set relatively to the server file system.
Embedded root
Select the folder for Embedded server required files.
Please note that you need to have sufficient privileges to be able to write to the destination database on Interbase/Firebird server.
Tunneling settings
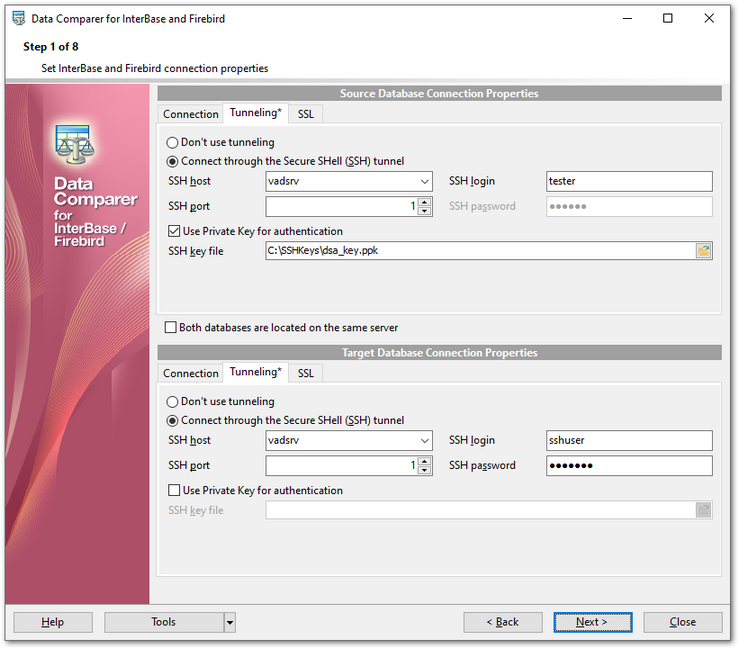
SSH host name
Set the name of the host where SSH server is running.
SSH port
Indicate the port where SSH server is activated.
SSH login
Specify the user on the machine where SSH server is running (Note: it is a Linux/Windows user, not a user of Interbase/Firebird server).
SSH password
Input the Linux/Windows user password.
![]() Use Private Key for authentication
Use Private Key for authentication
If the SSH encryption is enabled on the SSH server, a user can generate a pair of cryptographic keys (the Private key and the Public key). The Public key is placed on the SSH server, and the Private key is the part you keep secret inside a secure box that can only be opened with the correct passphrase (or an empty string as the passphrase). When you wish to access the remote system, you open the secure box with your passphrase (if any), and use the private key to authenticate yourself with the Public key on the remote Linux computer.
SSH Key file
Specify the location (the secure box) of the Private key file on your local machine.
Note that you need to trust your local machine not to scrape your passphrase or a copy of your Private key file while it is out of its secure box. For more details see SSH tunneling options.
Repeat the steps above for the target Interbase/Firebird connection or just check the Both databases are located on the same server option for comparing data from databases located on the same server.
When you are done, press the Next button to proceed to the next step.
SSL settings
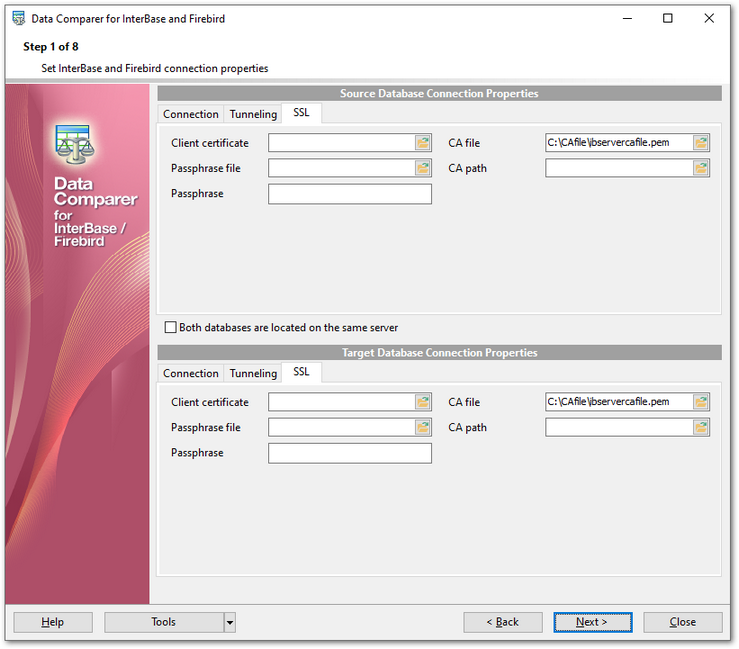
Client certificate
Set the full path to the SSL certificate on the client machine.
Passphrase file
Set the full path to the file containing the key passphrase.
Passphrase
Input passphrase password.
CA file
Specify the name of the certificate authority file.
CA path
Set the path for the location of the certificate authority file.


