
Online Documentation for All SQLManager.net Products
Selecting available backup
At this step you need to select the backup for database restore.
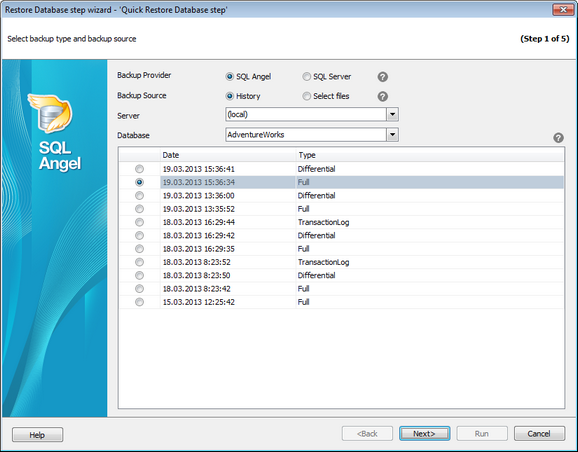
Backup provider
You need to select the provider that had been used for creating the backup. Depending on the selection the restore procedure will be performed by SQL Angel or SQL Server means.
Backup source
History - shows the list of the available database backups for the specified server and database. Only backups of corresponding provider types are displayed.
Files - allows selecting individual backup files from the server.
Server
Select the server to restore database from.
Database
This option is available for History backup source and contains databases available for the selected server. Choose the database you need to restore and the list of the backups available for the selected database will be displayed below. You need to select the backup to restore and proceed to the next step of the wizard.
When restoring on the chosen date using the history the search of the needed for restoring full and differential backups is performed. For example, if you are restoring a transaction log then all backups will be found: starting from the full to all transaction log backups. All detected backups will be restored sequentially to ensure a full restoring.
For the Files backup source:
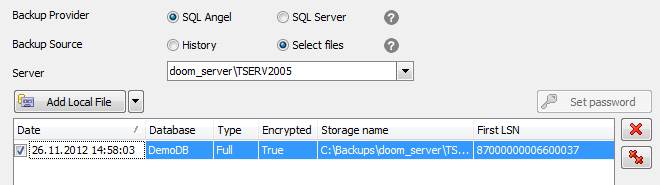
For every selected file displays additional information: Date, Database, Type, Encrypted, First LSN, Storage name, Last LSN, Check Point LSN, Differential Base LSN.
Add Local File/Add Network File
Click this button to search for the backup files on the local (server) or network machine. If backup consists of multiple files (this option is only available for SQL Angel type) you need to specify the first file from the chain. If the backup file includes several databases you are only allowed to select one database at a time.
![]() Remove
Remove
Removes the selected file from the list.
![]() Clear
Clear
Removes all files from the list.
Use ![]() and
and ![]() buttons to reorder selected files.
buttons to reorder selected files.
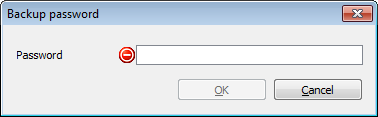
Set Password
If the chosen backup is encrypted then click the button to input the password for the backup in the opened dialog:
During the whole process the database is in the Restoring state. The last restore action brings the database to the Online state.
Press the Next button to proceed to the Specifying the elements of backup (for History backup source) or Defining the target database parameters (for Files backup source).


